Blur & recovery
How do I fix a blurry baby photo when it’s my only copy for printing?

If this is the only baby picture you have, you cannot reshoot it. What you can do is give the digital file the best possible starting quality, then improve clarity in a way that still looks natural on paper. Most parents hit three walls at once: the photo is soft, it is small or heavily compressed, and they want a framed print larger than the file can honestly support. This guide walks through a workflow that matches how search results and working editors structure the problem: diagnose the blur, capture a strong master file, avoid fake “crispy” sharpening, then size the print to what recovery can deliver.
Why your only baby photo looks soft or blurry
Motion and missed focus
Newborns and young babies move in small ways. On a phone in dim light the shutter stays open longer, so tiny motion turns into softness. Focus can land on a blanket or hands while the face sits slightly behind the plane of sharpest focus. Those issues never fully disappear in editing because the camera never recorded a crisp edge to begin with.
Low light and phone noise
When ISO climbs, noise reduction smears detail. Skin can look mushy even when focus was acceptable. Parents often crop tightly from a wider shot, which removes pixels and makes blur more obvious when you enlarge.
Compression and small file size
Photos pulled from chat apps, older email attachments, or social uploads carry aggressive JPEG compression. That adds blocky artifacts next to blur. Heavy compression makes classic sharpening punish you twice by turning artifacts into crunchy texture.
Start with the cleanest digital copy you can get
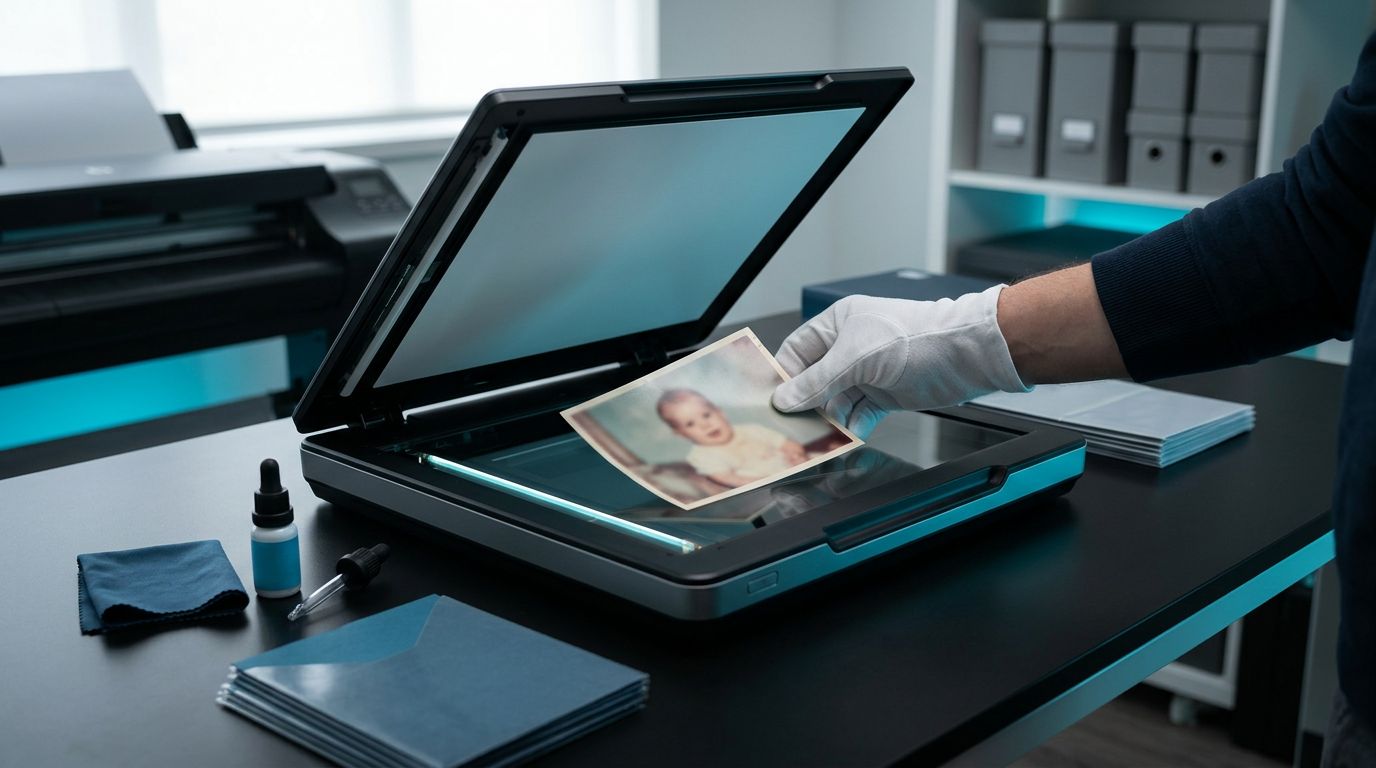
Scanning the print the right way
If your only copy is a physical print, scanning beats taking a picture of it with your phone whenever you can. Dust the glass. Scan flat at a generous resolution (600 PPI is a common starter when you might crop or upscale later). For reflective prints, the Library of Congress discusses PPI choices for reflective prints and trade-offs around 300 versus 600 PPI sampling. Save as TIFF or high-quality JPEG from the scanner software before any edits. That file becomes your master.
If you must photograph a print
Sometimes you only have the print at someone else’s house with no scanner. Shoot in diffuse daylight, parallel to the print, and kill reflections. Fill the frame without digital zoom. Enable your camera’s highest-quality capture mode. Expect more glare cleanup and less real detail than a scan, so plan for a modest print size.
Why a normal sharpen slider is often the wrong first move
Traditional sharpening boosts contrast along edges. On baby skin that quickly turns into halos and plastic texture. On compressed images it amplifies JPEG blocks. For printing, “more sharpen” often feels harsh up close even when it looks punchy on a phone screen.
Use sharpening late and lightly, after you have reduced noise and after any AI pass that rebuilds detail. Think of sharpening as the final polish, not the rescue tool.
How AI super-resolution differs from classic sharpening
Classic tools mostly rearrange what pixels already say. Modern super-resolution (sometimes bundled as “enhance,” “restore,” or “HD”) predicts plausible fine structure based on patterns learned from lots of images. That helps mild softness, modest missed focus, and enlargement for print.
Stay honest about limits. Severe motion blur or extreme misfocus does not magically become a studio portrait. Output is plausible reconstruction, not guaranteed truth. Good tools still fail less often than pushing “Clarity” to one hundred.
A practical enhancement workflow for printing
Pick a realistic print size
Multiply your pixel dimensions by any upscale factor you plan to apply. For a sharp photo at 300 PPI, width in pixels divided by 300 gives you the widest inch width you can print without inventing detail. If the math says five inches wide at best, forcing twelve inches wide will look soft no matter how much AI you stack.
Run enhancement in conservative passes
Start with one moderate enhancement or upscale instead of chaining extreme presets. Compare at actual print magnification (roughly fifty percent zoom on a desktop monitor for a twelve-inch-wide layout is a decent sanity check). If faces look waxy or eyelashes turn into stripes, lower strength or switch models.
Check faces and skin before you commit
Baby faces show mistakes early. Toggle before and after at full resolution. Watch catchlights and eyelid folds. If the tool offers portrait-aware or face-aware modes, test them against a general mode and keep whichever preserves skin texture without blotchy patches.
Optional browser-based workflows such as PhotoSharpener combine super-resolution style enhancement with artifact cleanup and optional face restoration in one pipeline, which can save steps when you already know you need print-ready output quickly.
Getting enough pixels for a sharp baby photo print
You need enough pixels across the longest edge for the inches you plan to print. For collection-quality still images, national libraries often tie preferred pixel counts to intended output (still image recommendations). Quick mental math:
- Desired width in inches × 300 ≈ minimum pixels wide at 300 PPI
- Same for height
If your enhanced file still falls short, you either accept a physically smaller print, accept slightly lower PPI (many labs still look acceptable around 240 PPI for wall viewing distance), or apply a measured upscale once rather than multiple destructive enlargements.
![]()
What to expect when this is truly your only file
You might rescue a charming five-by-seven even when an eight-by-ten stretches believability. Motion streaks across the face rarely vanish completely. Extremely small sources upscaled many times tend toward painterly skin. Those outcomes are limits of information in the file, not personal failure.
If skin looks plastic, reduce enhancement strength before you blame the printer.
Quick checklist before you send the file to print
- You kept an unedited master scan or photo separate from experiments.
- Noise is under control before aggressive sharpening.
- Final dimensions meet or exceed your lab’s PPI goal for the chosen print size.
- You viewed the image at roughly print scale on screen.
- Skin texture still looks human in the face, not airbrushed porcelain.
Printing one irreplaceable baby photo always feels high stakes. Treat digitization as seriously as enhancement, prefer reconstruction over crunchy sharpening, and match print dimensions to what the pixels can truthfully carry. That combination gives you the strongest chance of a frame-worthy result from a single imperfect file.
