Old Photo Restoration
How do I restore an old family photo when AI keeps changing the person's face?

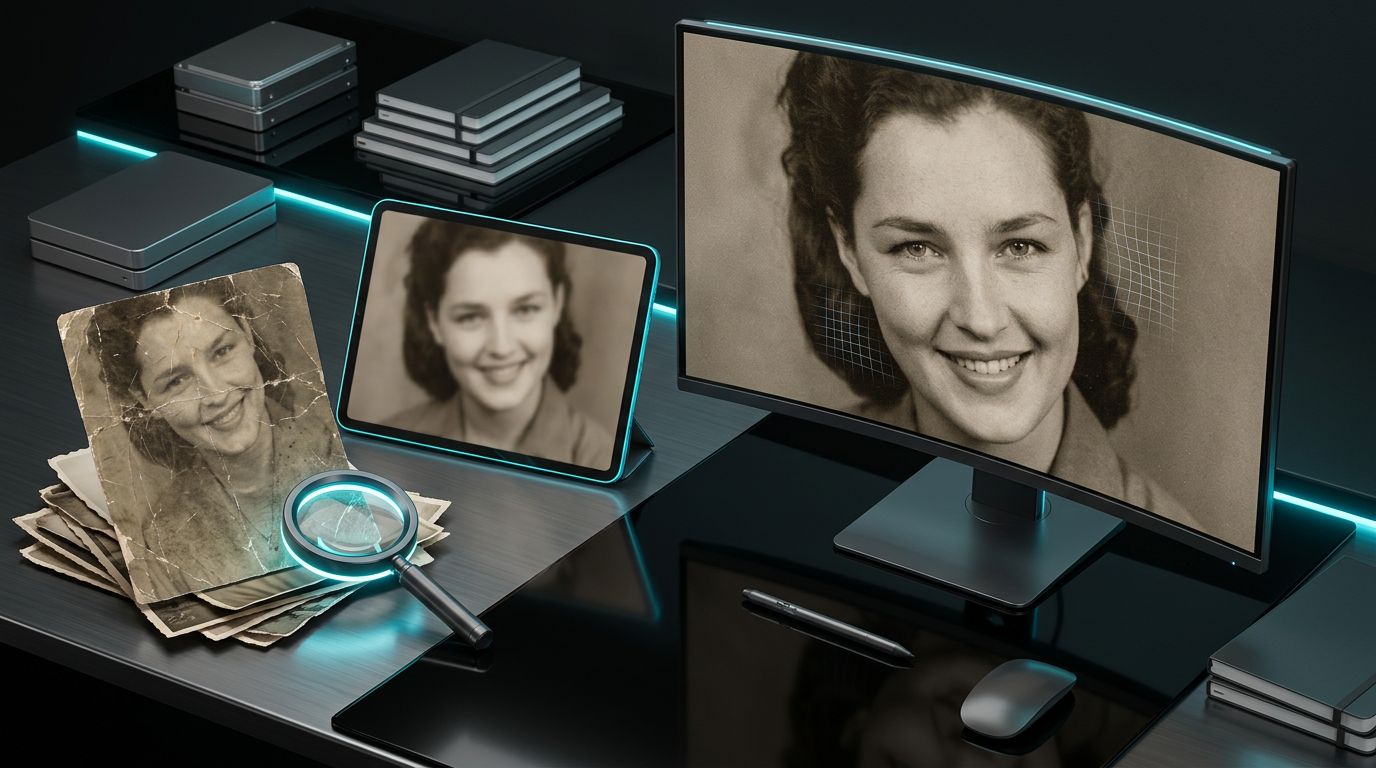
You find a photo of your grandmother in a shoebox, scan it, run it through an AI restoration tool, and the result looks nothing like her. The photo is cleaner, the scratches are gone, and the contrast is better. But the face belongs to a stranger. This is the most common complaint in every forum where people discuss AI photo restoration, and it is fixable, but only if you understand what is causing it.
TL;DR
- Identity drift happens when the model has to invent facial detail instead of reading enough real structure from the scan.
- Start with a clean 600 DPI or 1200 DPI scan and run general restoration before any face-specific enhancement.
- PhotoSharpener is safest used conservatively: review the base Real-ESRGAN result first, then enable optional GFPGAN only if the face still needs help.
- Compare the original and restored face at 100% zoom, especially the eyes, nose width, jaw line, and skin texture.
Why AI changes the face instead of restoring it
AI restoration tools are trained on millions of images. When they process a degraded face, they do not recover what was actually there. They generate what a face in that position, at that age, with that skin tone, is statistically likely to look like. The result is a plausible face, not the original one.
This problem is worse in tools that combine damage restoration with face beautification in a single step. When a tool tries to sharpen a face and improve it at the same time, the generative component takes over and fills gaps with invented detail. The more damaged the face, the more the AI has to guess, and the further the result drifts from the original person.
Face restoration models like GFPGAN were specifically designed to reconstruct facial detail from low-resolution sources without fully reinventing the face. But even these have limits, and how you run them matters.
The condition of the face before you start matters more than the tool
Before choosing any tool, look at the face in your photo and be honest about what state it is in.
If the face is soft and low-resolution but structurally intact, the original features are still there. The AI has something real to work with and is far less likely to invent. This is the best scenario, and most faces from old prints or scanned snapshots fall into this category even when they look terrible.
If the face has physical damage such as a tear across the cheek, deep scratches through the eyes, or heavy chemical fading that has erased sections of skin, the AI has to fill in missing data. That is where identity drift becomes severe. No matter how capable the tool, it is reconstructing rather than restoring. If the print also has broader surface damage, start with a damage repair workflow before you judge face-restoration results. Knowing which situation you are in changes both what you should expect and how you should run the workflow.
Scan the photo at high enough resolution
Every AI enhancement tool works with what you give it. A phone photo of a print taken under an overhead lamp with slight glare and perspective distortion gives the AI bad data to start from. That bad data makes the face harder to read and pushes the model toward more aggressive generation.
A clean, high-resolution scan gives the model more pixel information about the actual face, which means it has less reason to invent.

The 600 DPI starting point
For most standard photo prints, scanning at 600 DPI gives you enough resolution to upscale moderately while preserving the real texture of the original. For small wallet-sized prints or photos you plan to print very large, 1200 DPI is worth the larger file size.
Save as TIFF or high-quality PNG before running any restoration. Never work from a JPEG export of your scan as your master file because JPEG compression layers new artifacts on top of existing damage.
When a scanner is not available
If you cannot scan, photograph the print in bright, diffuse daylight (next to a window works well), parallel to the surface to avoid keystoning. Use your phone's highest quality mode and avoid digital zoom. Flat, even light reduces glare across the face. Google PhotoScan handles perspective correction and glare removal automatically if you walk through its capture steps rather than taking a single shot.
You will get less detail than a scan, but a careful phone capture is far better than a rushed indoor snapshot. If the source is a brittle clipping rather than a photo print, a dedicated newspaper restoration workflow is safer because halftone dots and fragile paper create different problems from a normal family snapshot.
Choose a tool that uses face-aware restoration, not face beautification
This is the selection decision that most people get wrong.
Face restoration vs. face beautification: the difference
Face restoration aims to sharpen and reconstruct texture in a detected face region without reworking the underlying structure. The goal is to make a blurry face clearer while keeping the proportions and features that identify that specific person.
Face beautification applies a generative model that smooths, symmetrizes, and improves facial features based on training data patterns. It produces faces that look young, sharp, and socially appealing. Those faces are often not the person in the original photo.
Many all-in-one tools that advertise one-click old photo restoration bundle beautification into the pipeline with no way to disable it. The result is a technically cleaner image of the wrong person.
What conservative face handling looks like in practice
Look for tools that separate the damage restoration step from any face enhancement step. If face restoration is optional or toggled on after the base restoration pass, that is a good sign. Models like GFPGAN are designed for face reconstruction rather than beautification, and tools built around this architecture tend to stay closer to the original identity.
PhotoSharpener uses Real-ESRGAN for overall sharpening and reconstruction with optional GFPGAN face restoration as a distinct pass. Because face restoration is separate, you can evaluate the base result first and decide whether to enable face enhancement at all.
The workflow that keeps facial identity intact
Running everything in one click is convenient but gives you no control over where the AI makes decisions. A modular approach lets you apply heavier restoration to the background and damaged areas while keeping the face treatment lighter and more targeted.
Restore the damage first, face restoration second
Start by processing the photo without face enhancement enabled. The goal here is to address physical damage: scratches, fading, JPEG compression, and general softness from age. After this pass, the face should look less degraded but still recognizably the same person.
Then, if the face is still soft or lacks clarity, apply face restoration as a second step. Because you are starting from a cleaner base, the face model receives better input data and is less likely to generate aggressively.
How to check whether the face has changed
After any AI processing, open the result and the original side by side at 100% zoom. Check the following in order:
- Eyes: shape, spacing, and size. These are the hardest things to fake and the first to break identity.
- Nose bridge and width: small proportional changes here are subtle but instantly recognizable to family members.
- Jaw and cheekbone line: soft jaws do not become sharp jaws in real life. If the restored face shows a jaw structure not present in the original, the AI invented it.
- Skin texture: slight grain and natural imperfections are fine. Perfectly smooth, uniform skin that looks airbrushed is a sign of heavy beautification.
If any of these feel wrong, the tool is over-processing the face. Run again with reduced strength or try a different tool.
When to run the process again
AI restoration results vary between runs because most models have some stochastic behavior. If one pass changed the face badly, run it again before concluding that the tool cannot do the job. Two or three runs often produce noticeably different results. Keep the run that best preserves the original features, not necessarily the one that looks sharpest in isolation.
What to do when the face keeps coming out wrong
If you have tried a clean scan, separate passes, and multiple runs, and the face is still drifting, work through this checklist before giving up:
- Reduce face restoration strength if the tool allows it. Full-strength face enhancement is often the source of the problem, not the solution.
- Try a different tool. Some tools use heavier beautification models than others. Switching to one built around face reconstruction rather than face improvement often changes the outcome significantly.
- Disable face restoration entirely and rely only on general sharpening. A face that is slightly soft but recognizably correct is more useful than a sharp face of the wrong person.
- Crop the face out and process it separately. Running the face region alone sometimes gives the model clearer signal than a full-image pass where it has to locate and handle multiple regions at once.
- Use reference photos from the same period. If you have other photos of the same person, compare the restored face to those. If features match across photos, the restoration is staying faithful. If they do not, something shifted.
If this is the only childhood photo you have of that person, a more conservative only-photo workflow is usually the safer call because preserving likeness matters more than chasing a dramatic before-and-after.
When AI cannot recover the face and professional help makes more sense
If the face in the original photo is severely damaged, meaning there are large tears through the features, water staining that has dissolved the surface, or extensive missing areas, no AI tool will accurately recover that person's face. What you will get is a plausible generated face, and there is no reliable way to tell how much of it reflects the original.
For photos in this condition, human restoration is the appropriate choice. A professional restorer can use other photographs of the same person as reference, making deliberate decisions about what to reconstruct and what to leave as-is. The process costs more, typically starting around $25 to $100 per photo depending on the damage, but the result is one where a human has made accountable choices about identity rather than an algorithm filling gaps.
Save AI tools for the rest of your family archive where damage is surface-level and the underlying face information is still present.
FAQ
Why does the restored face look like a different person?
Most AI tools generate faces from training patterns instead of recovering the exact missing detail. When the source is badly degraded, the model fills gaps with statistically plausible features. Starting from a cleaner scan and using a lower-strength, separate face-restoration step reduces that drift.
Is there a way to stop AI from touching the face entirely?
Sometimes. Some tools let you restore the whole image while disabling face enhancement. If yours does not, stick with general sharpening only. A slightly soft but recognizable face is usually better than a sharper face that no longer looks like the same person.
Does scanning at a higher resolution help preserve identity?
Yes. A higher-resolution scan gives the model more original structure to analyze, so it has less need to invent. For most prints, 600 DPI is the practical baseline, and 1200 DPI is worth considering for very small or heavily damaged originals.
Can I restore a photo where part of the face is missing?
Only to a point. AI can plausibly bridge small gaps, but larger missing sections become reconstruction rather than true recovery. If the photo is irreplaceable and major facial detail is gone, a human restorer using reference photos is the safer option.
What is GFPGAN and why does it matter here?
GFPGAN is a face-restoration model built to reconstruct facial detail from low-resolution or degraded inputs. Compared with beautification-heavy pipelines, it is more likely to preserve the original person's proportions and features when used carefully.
